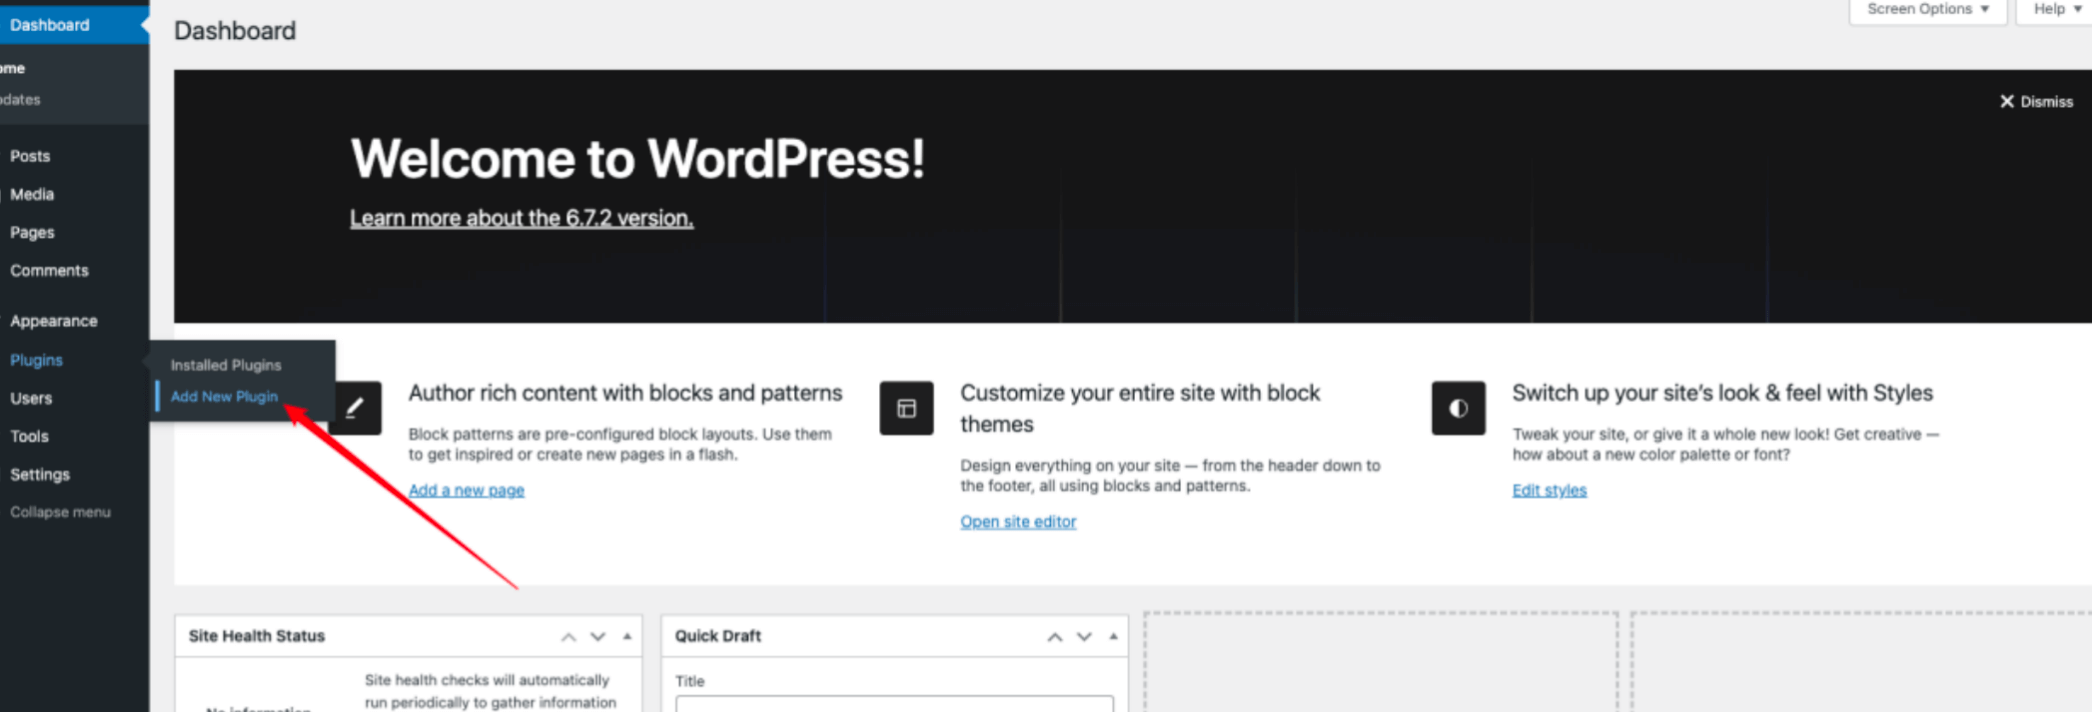
Step 1: Log in to the WordPress dashboard and navigate to Plugins > Add New Plugin.
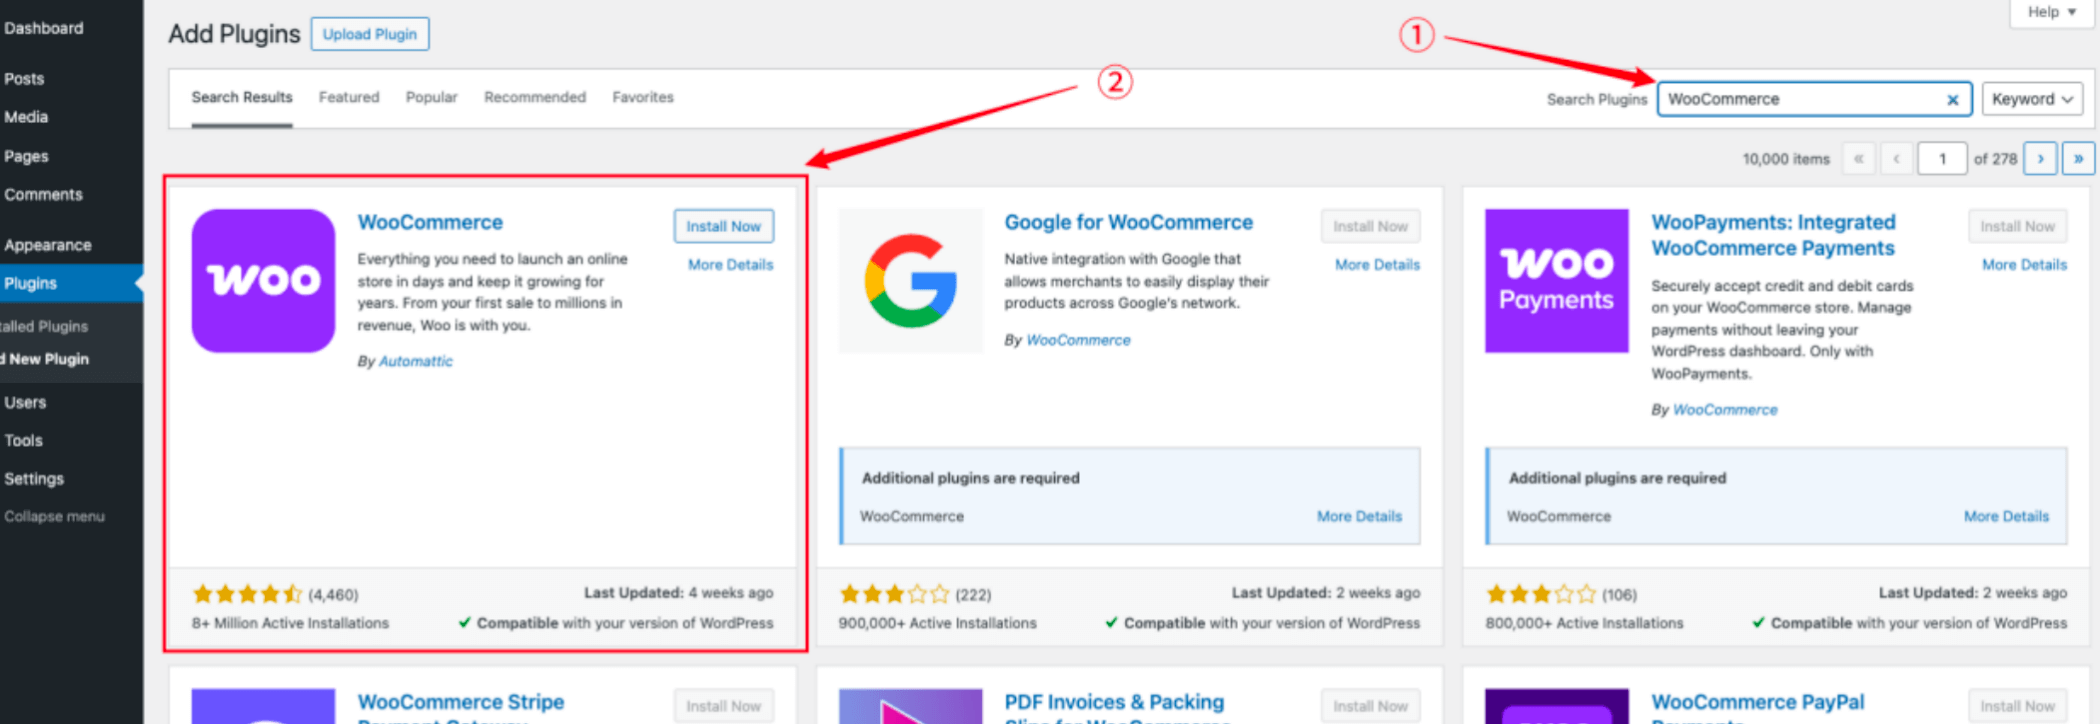
Search for "WooCommerce", then install and activate the plugin.
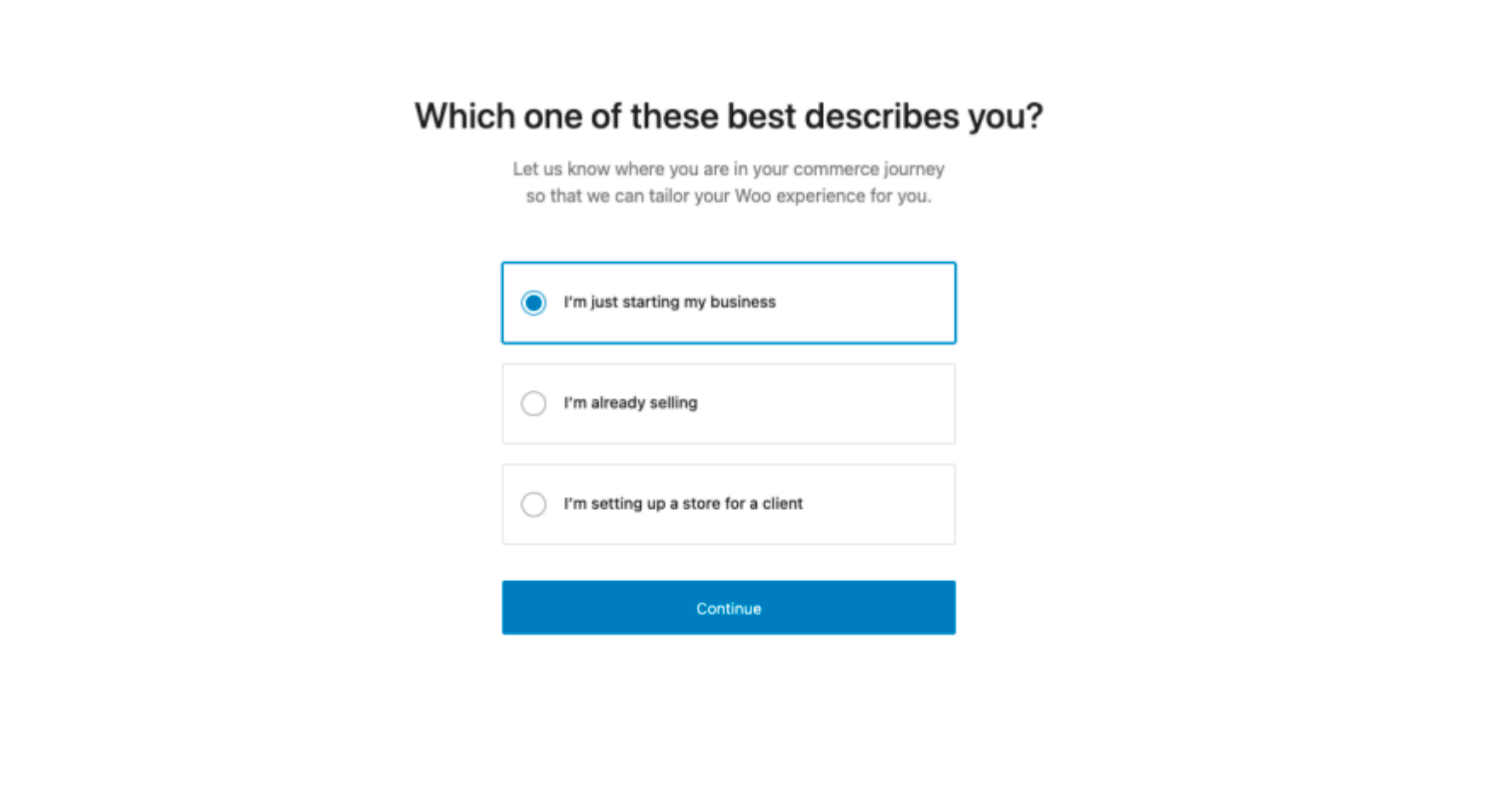
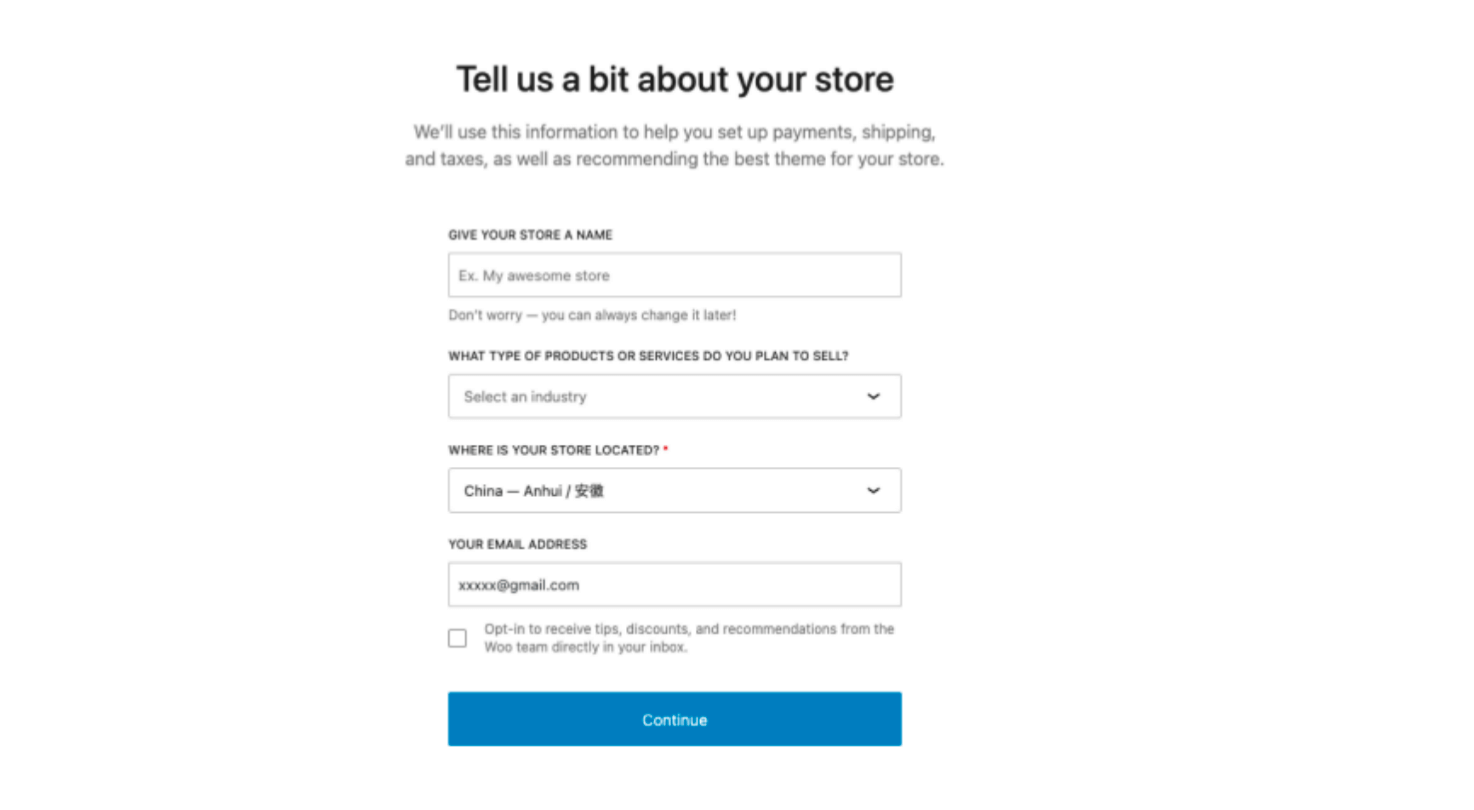
Step 2: Once the plugin is activated, it will automatically redirect you to the first setup. Follow the on-screen instructions to configure the basic settings.

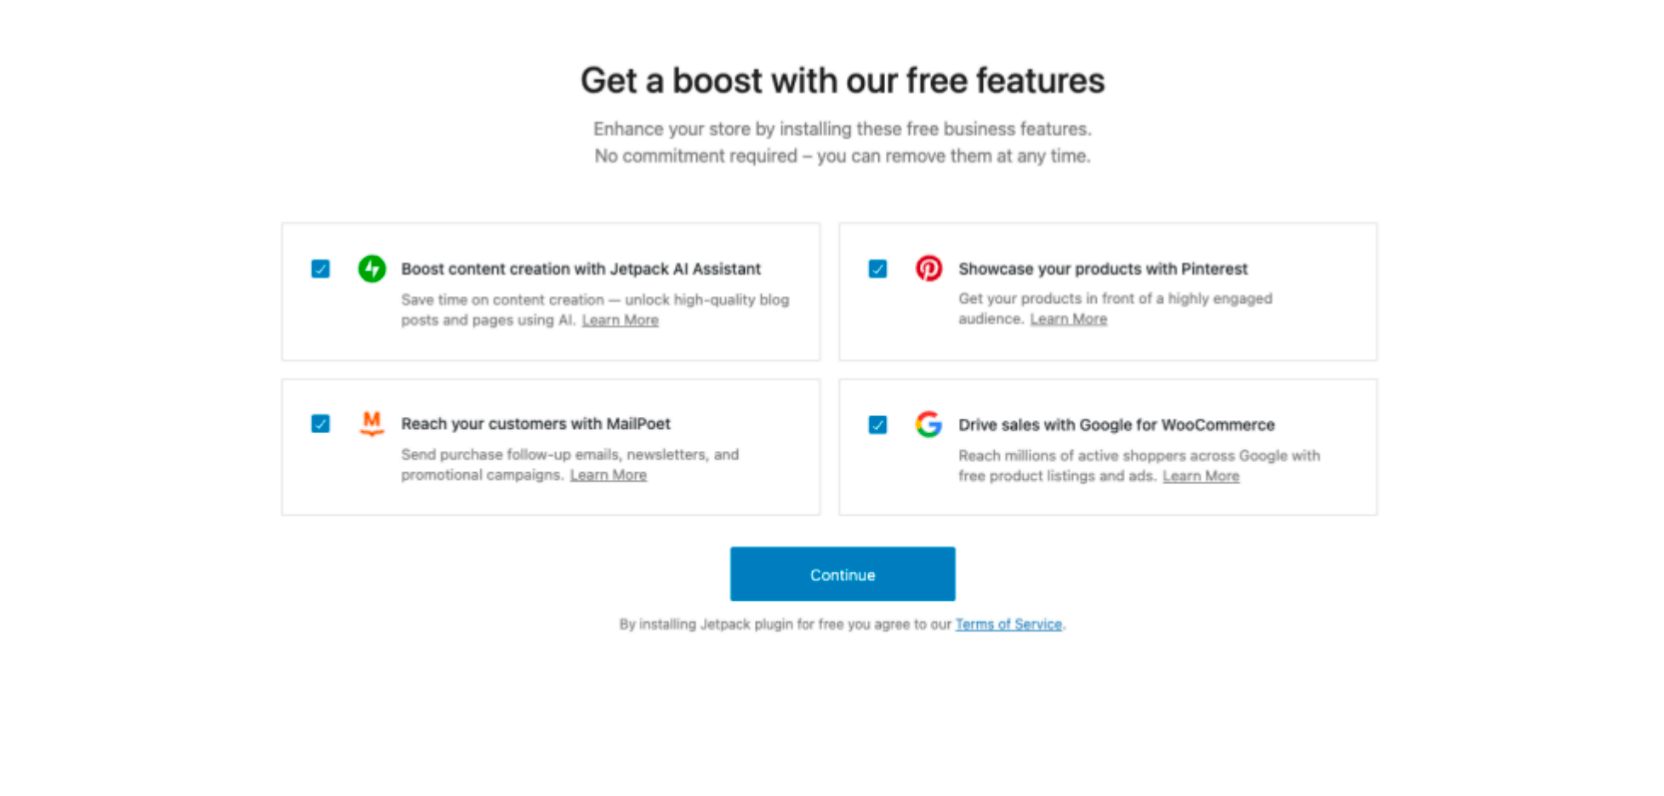

Step 3: After completing the setup, you will be directed to the WordPress dashboard to customize your store. Follow the steps to configure your shop.
1. Customize Your Store
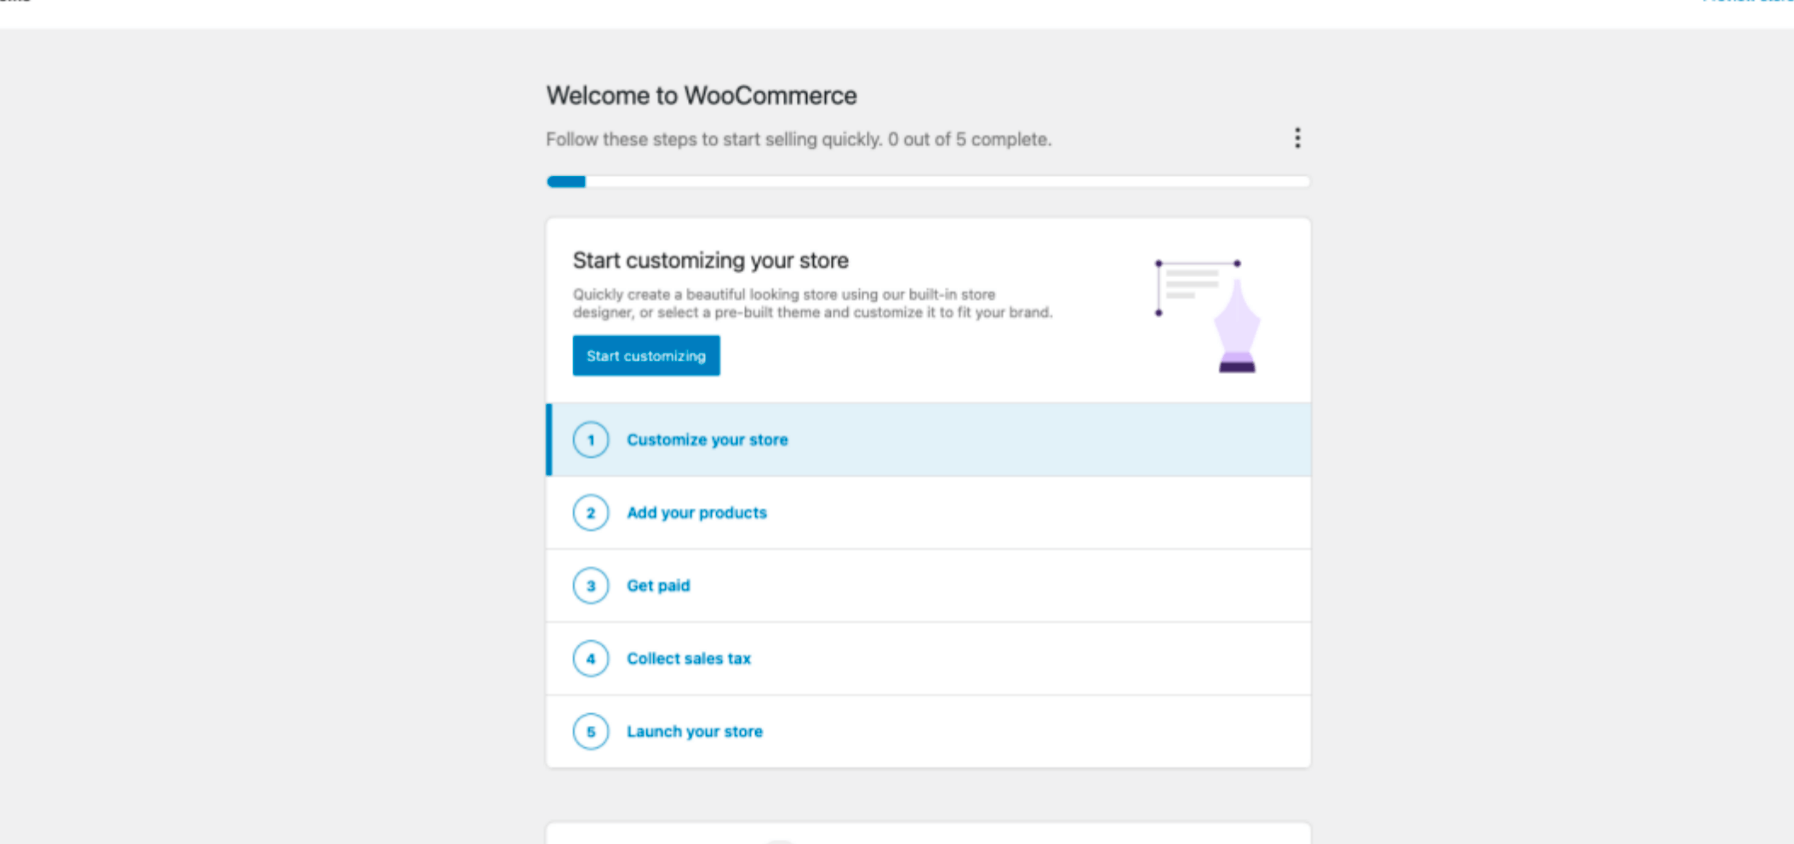
You can choose the official free theme Storefront, purchase a WooCommerce-optimized premium theme, or use custom editing tools to modify the store’s appearance.
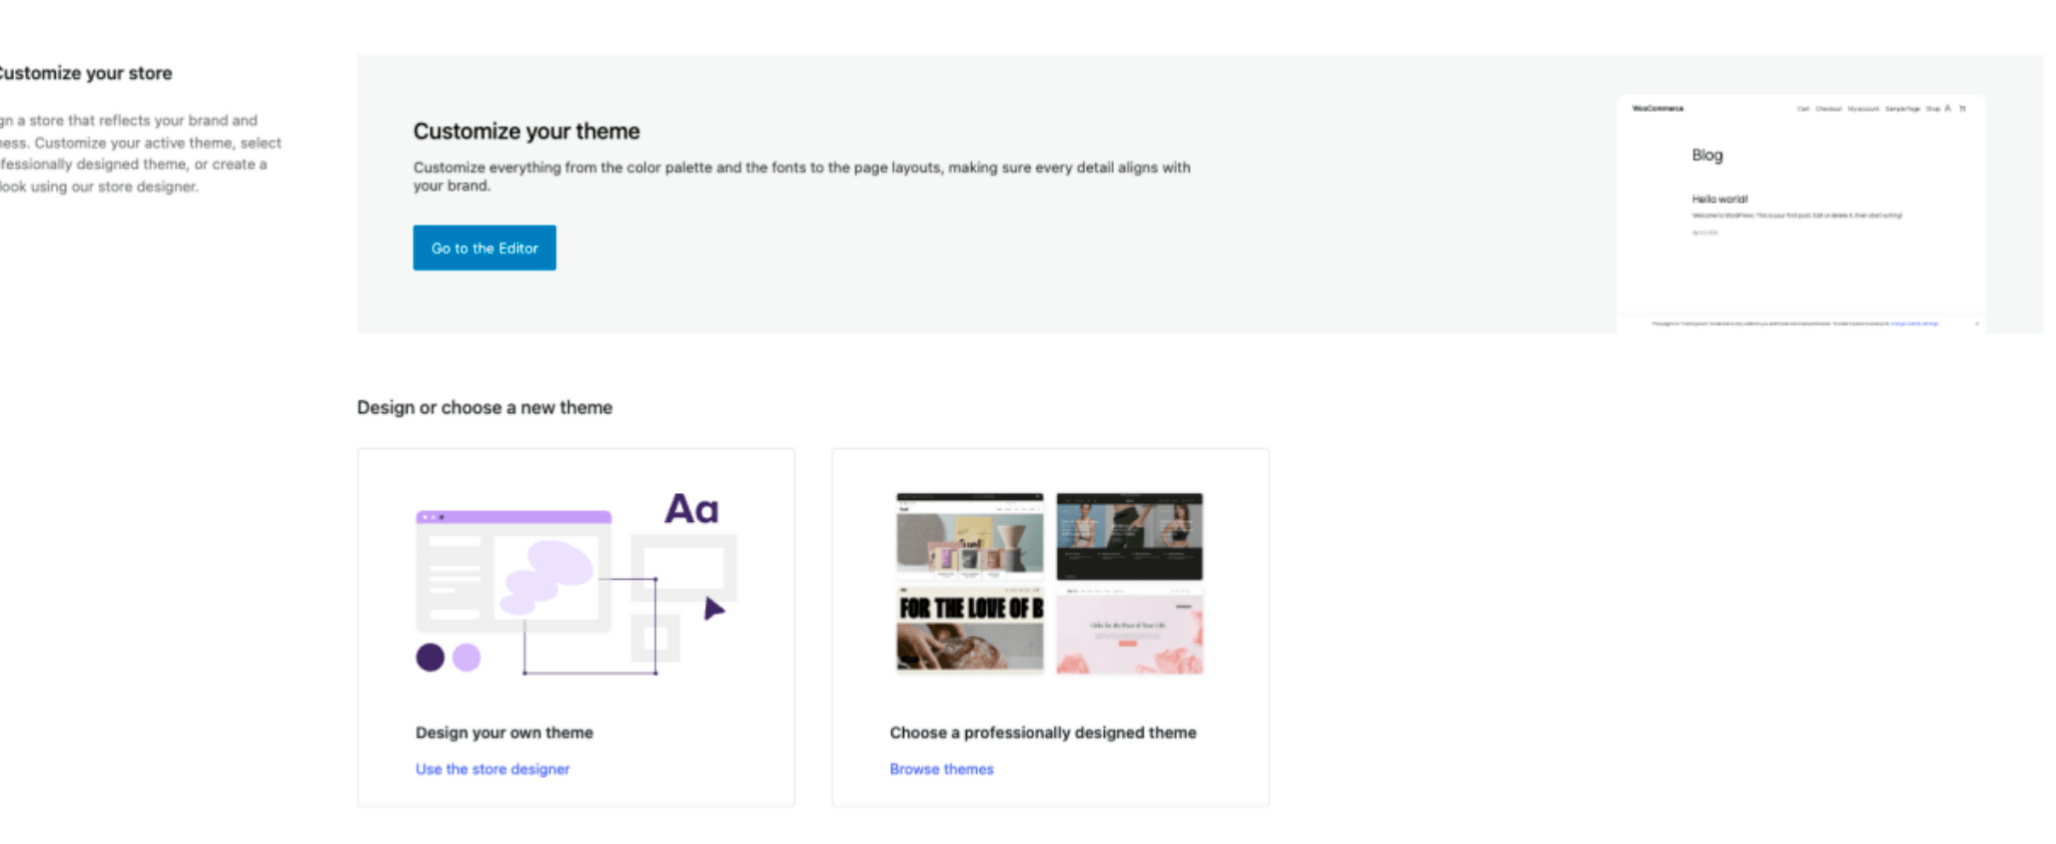
2. Add Products
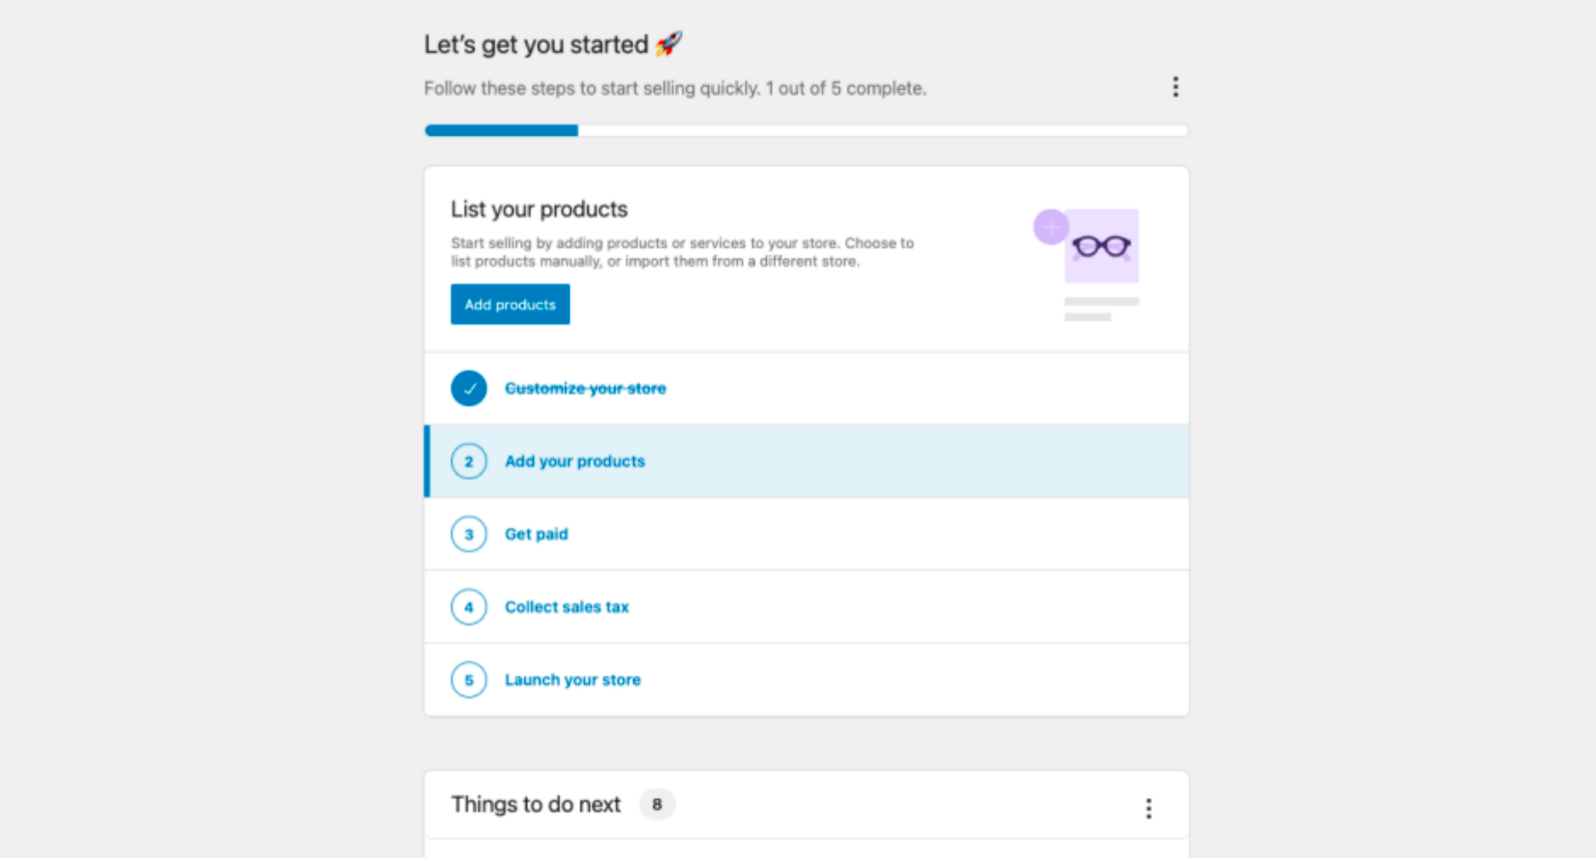
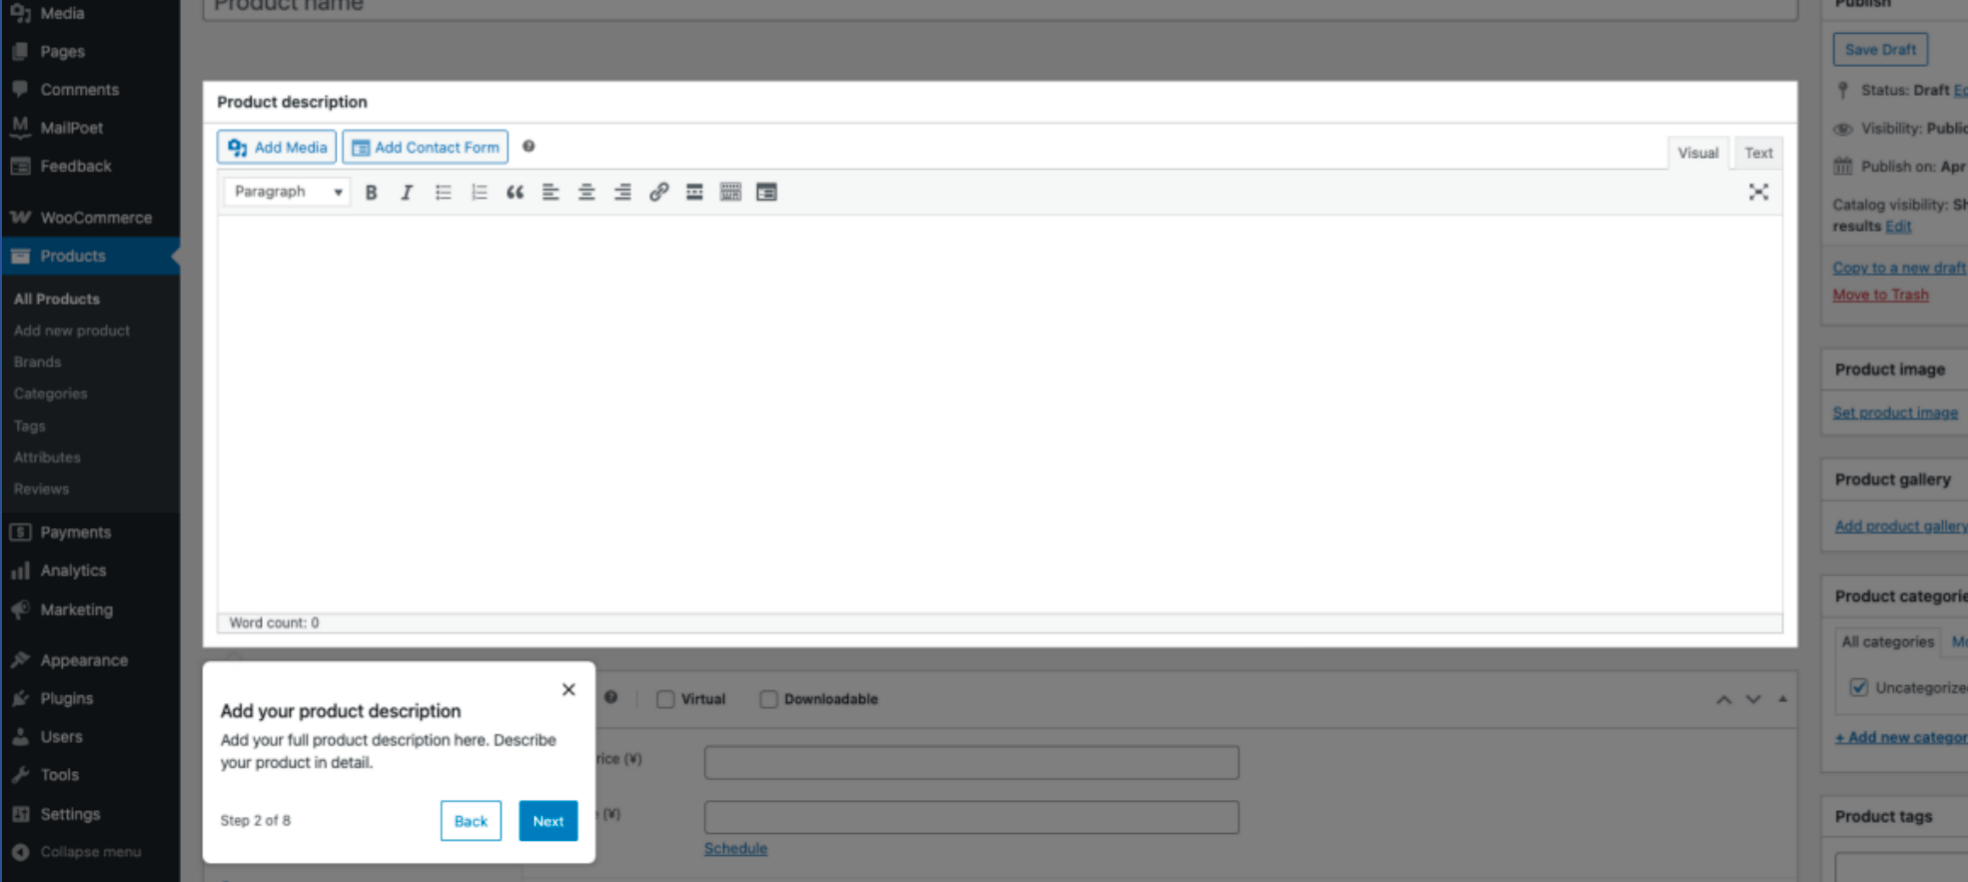
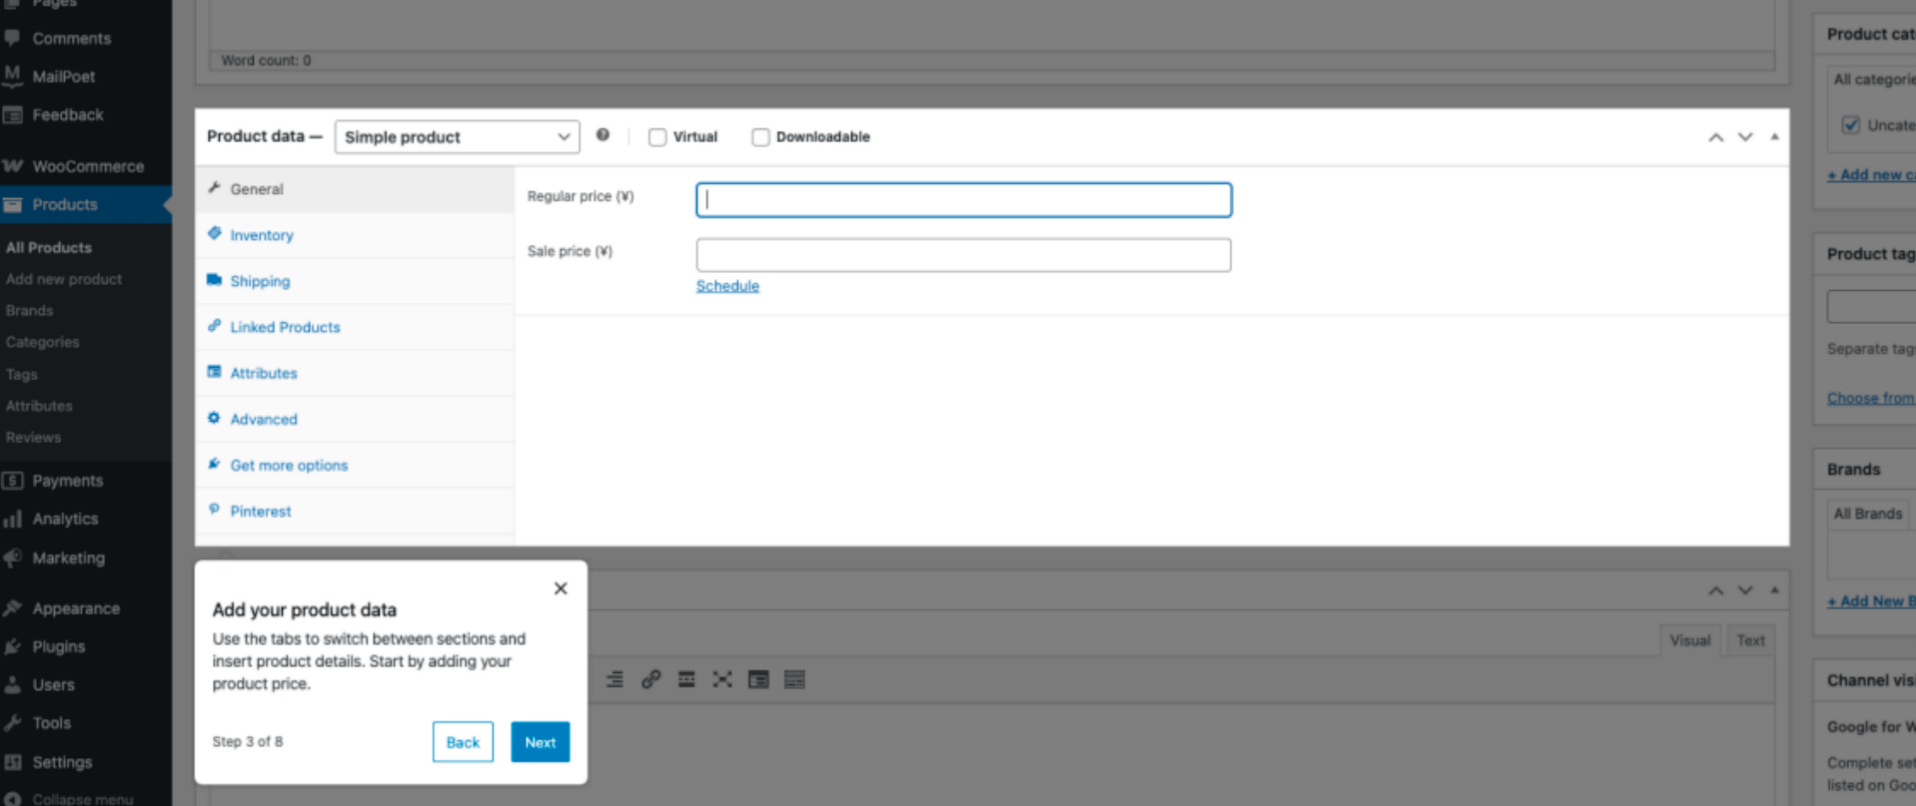
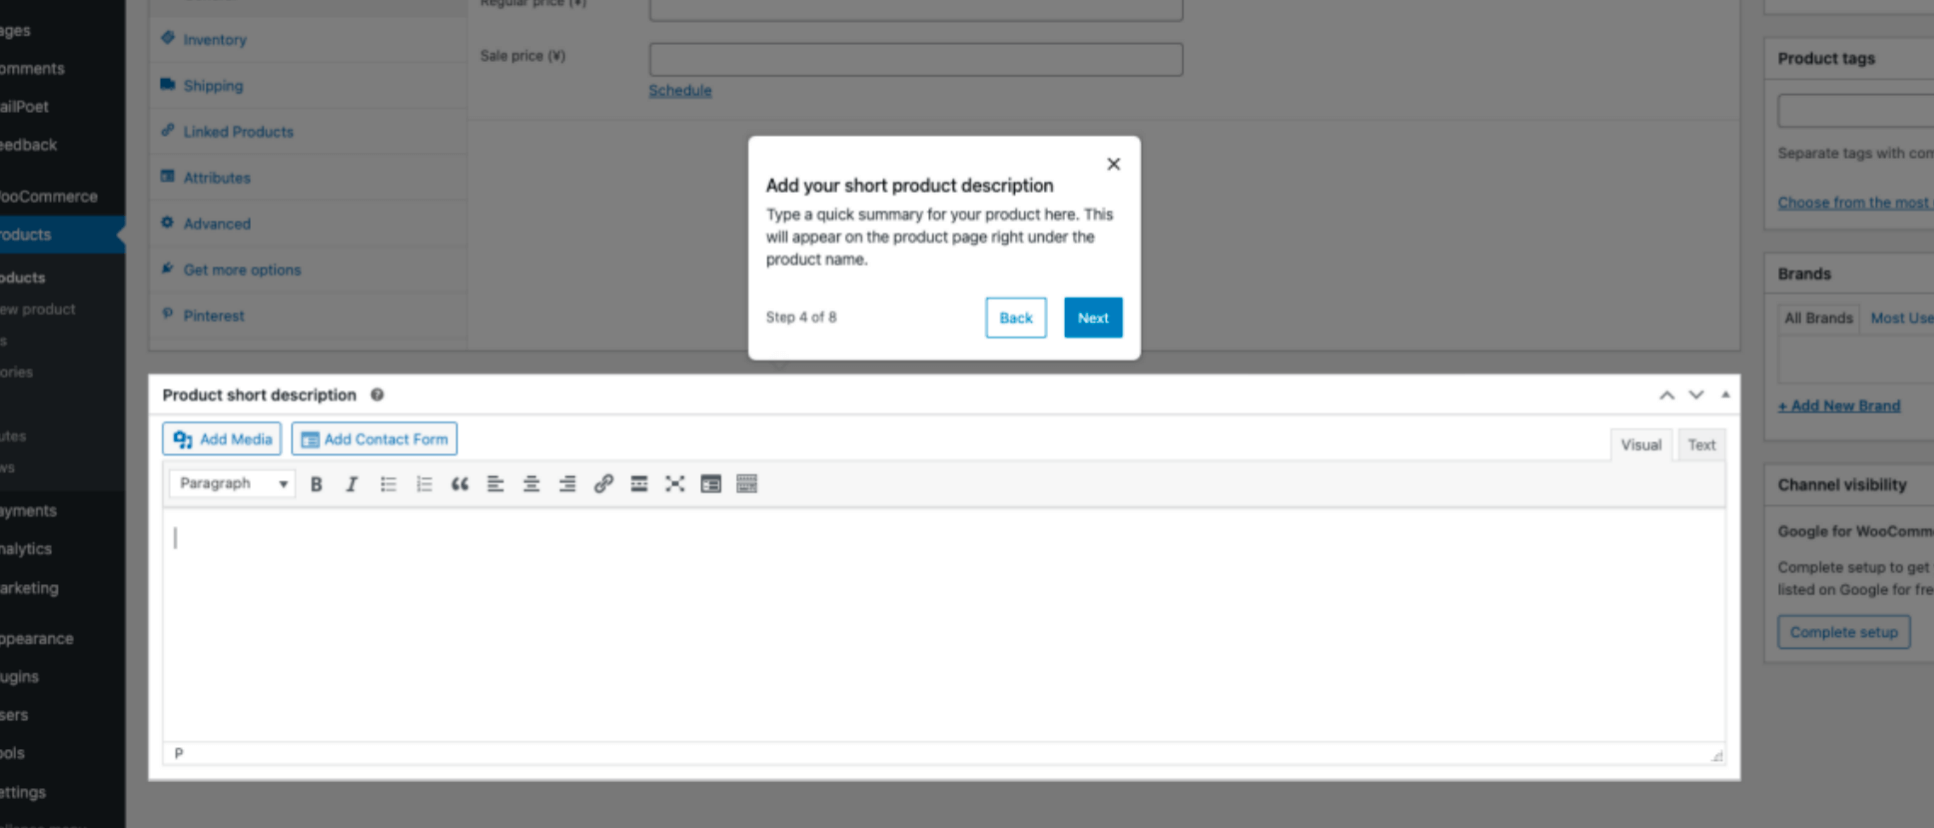
You can manually enter product details or import them in bulk using a CSV file. The required fields include product name, description, data, images, categories, and tags. You also need to specify whether the product is virtual or downloadable.
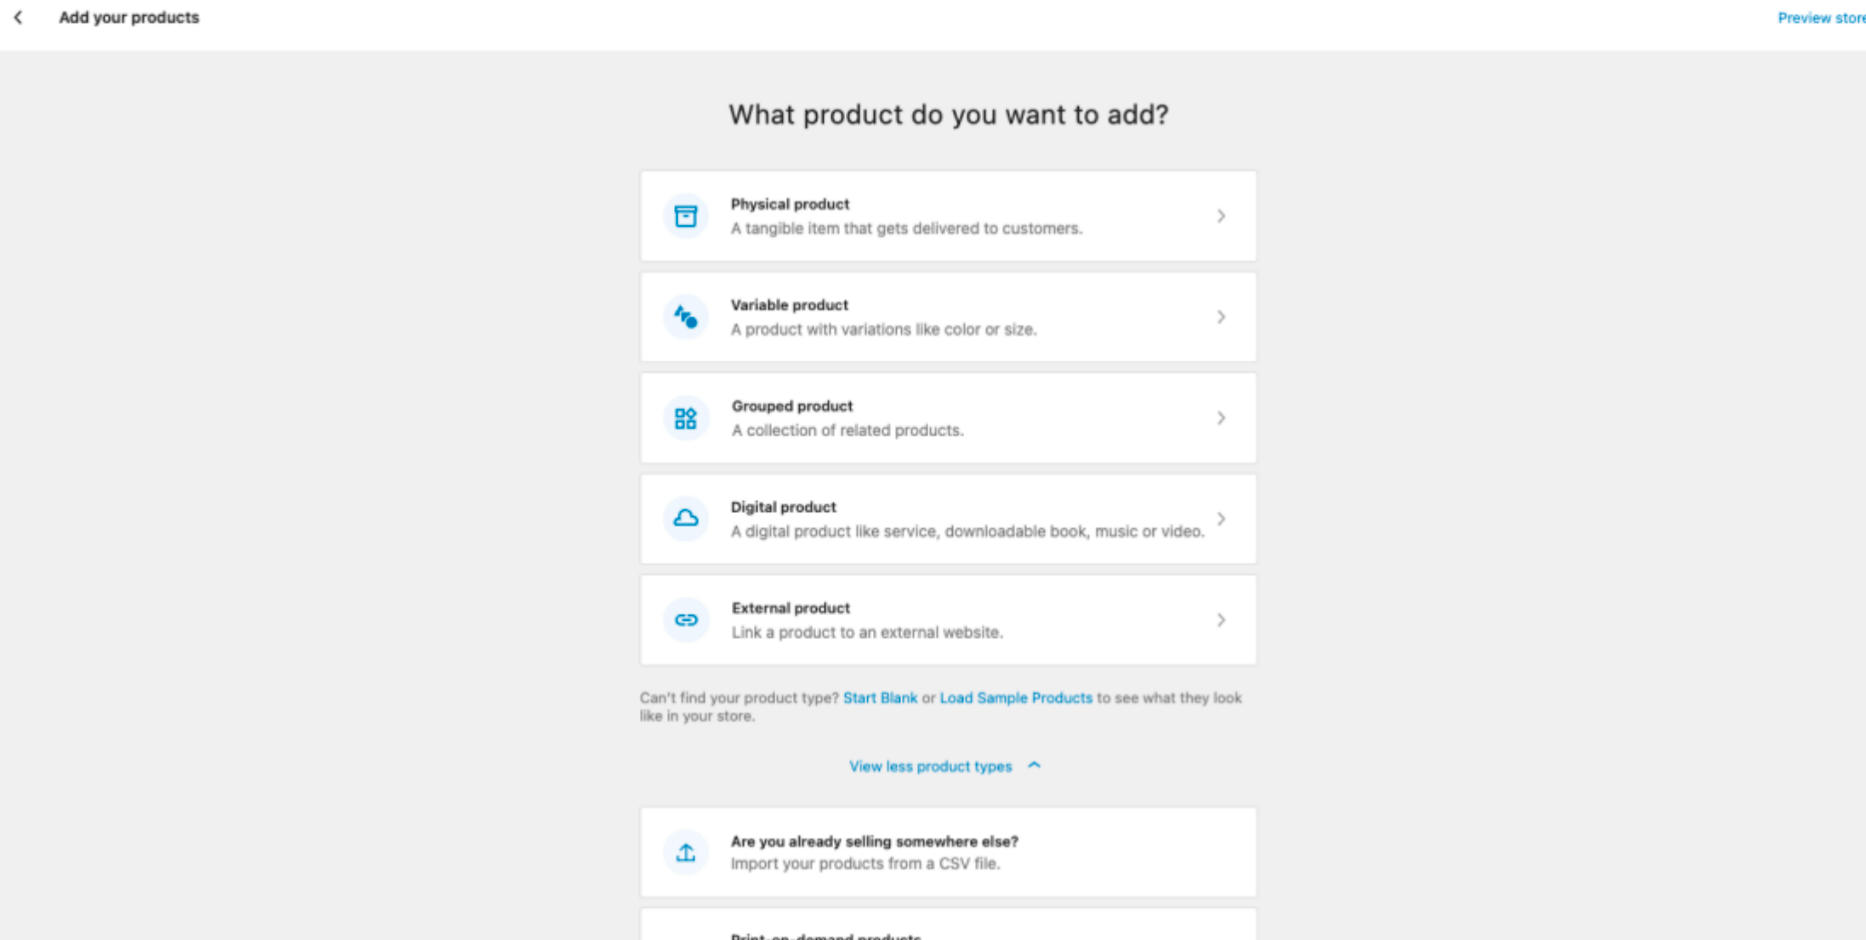
Product Name

Product Description
Product Data
Product Short Description
Product Images
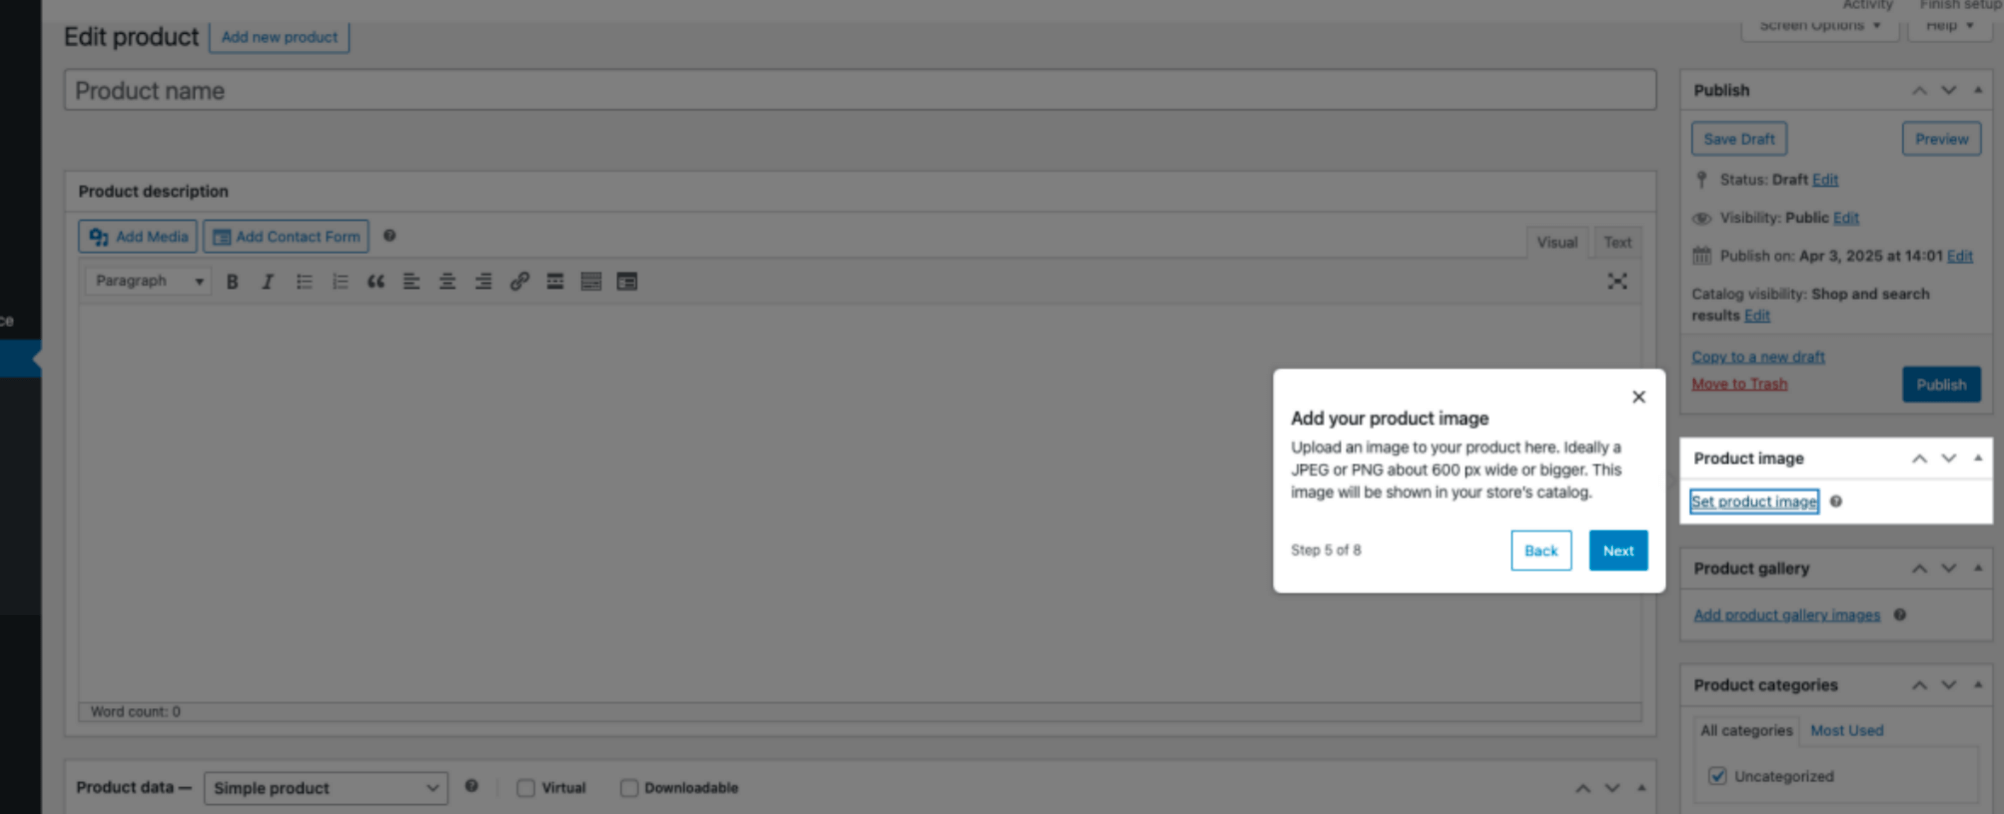
Product Tags
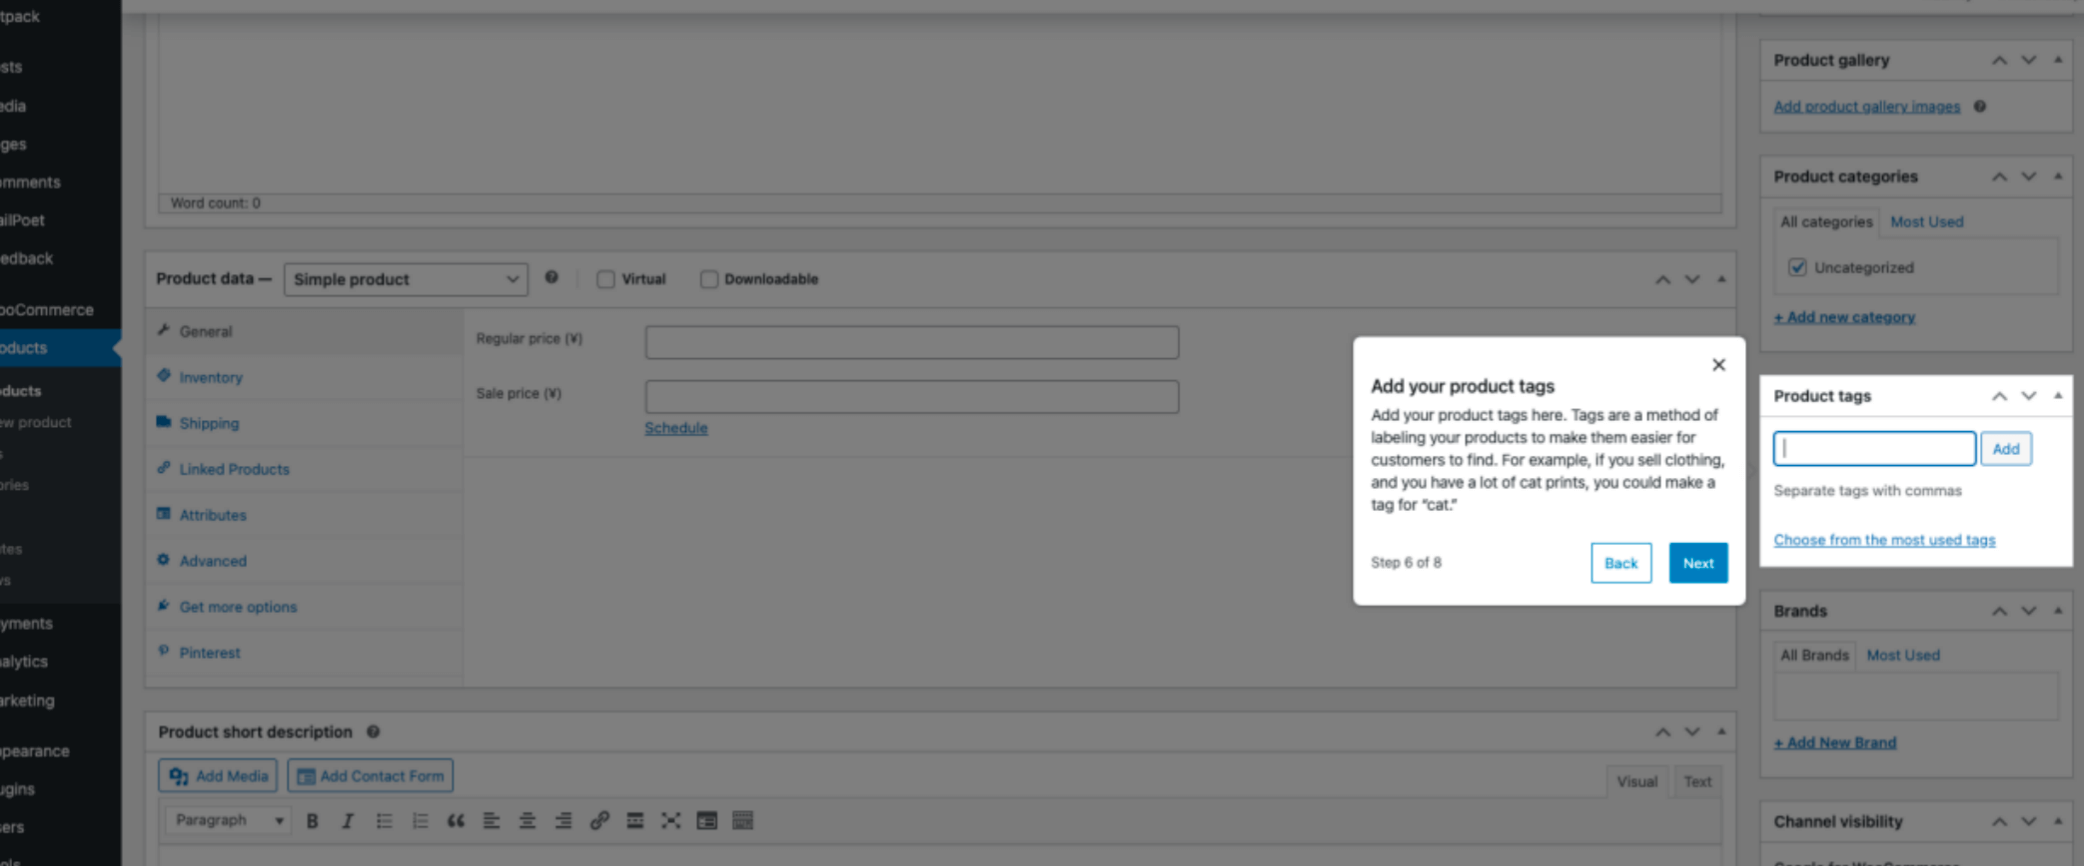
Product Categories

Publish Products
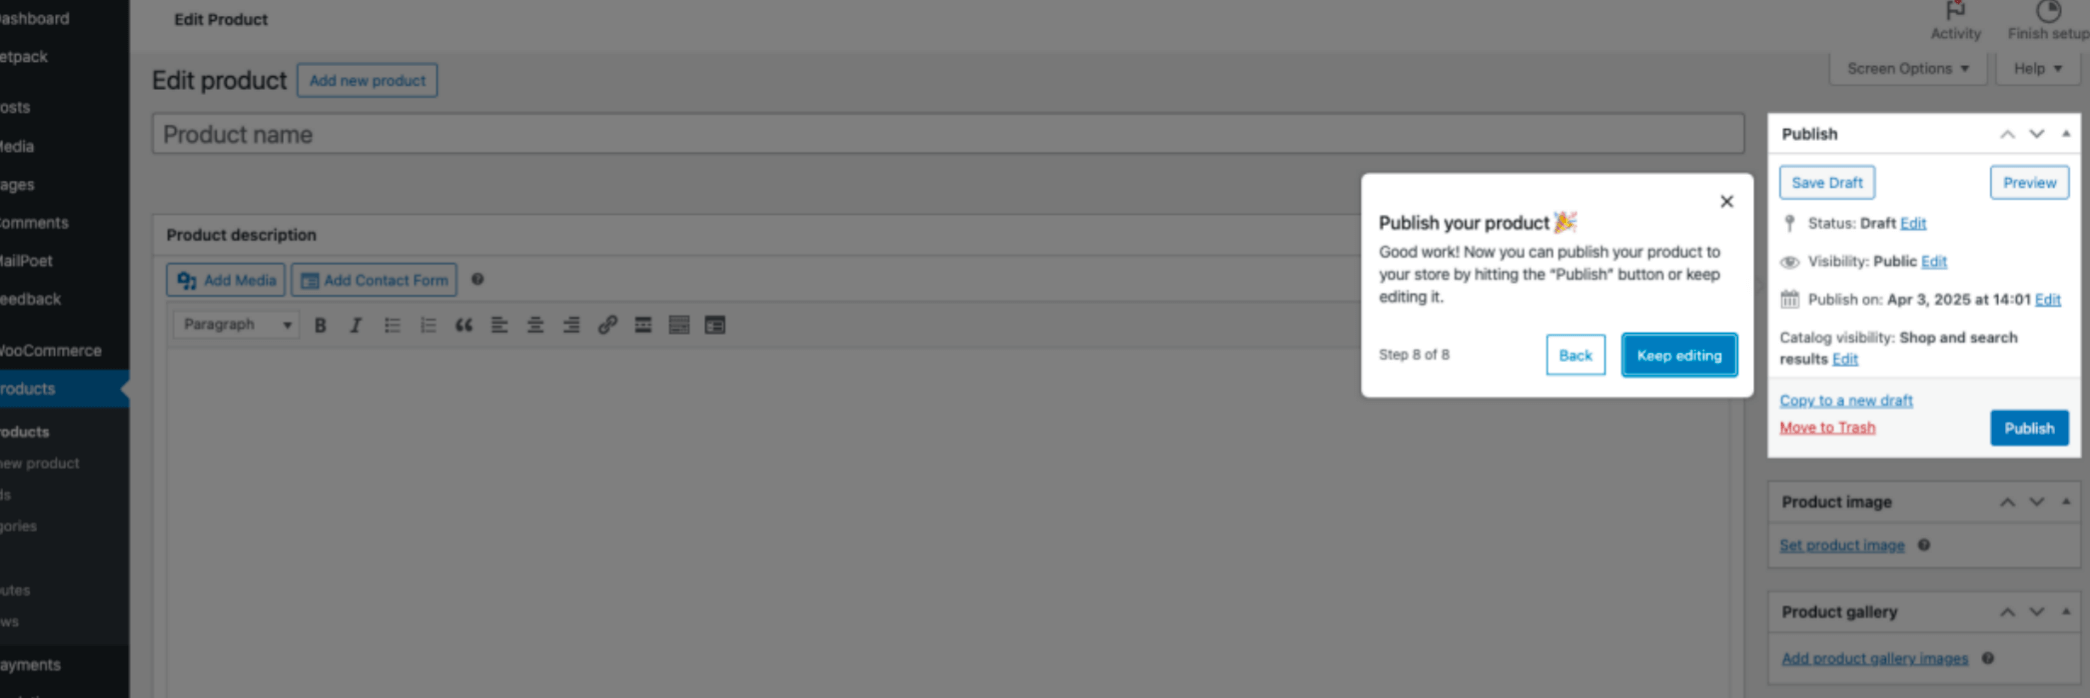
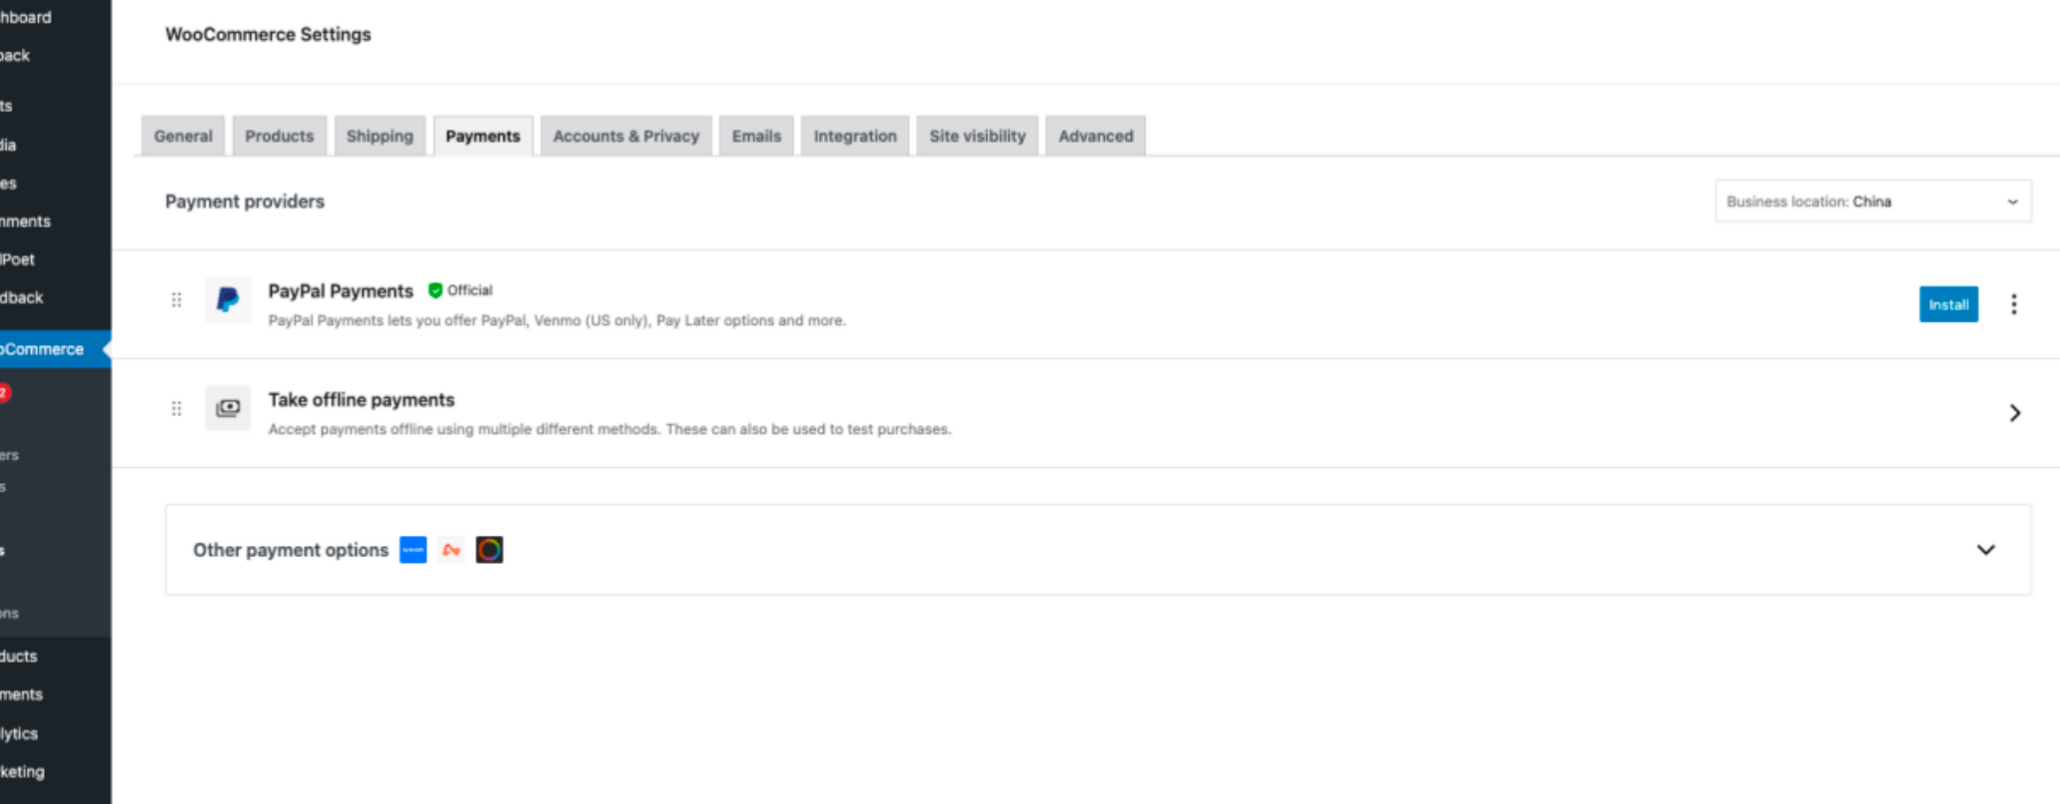
3. Choose a Payment Method
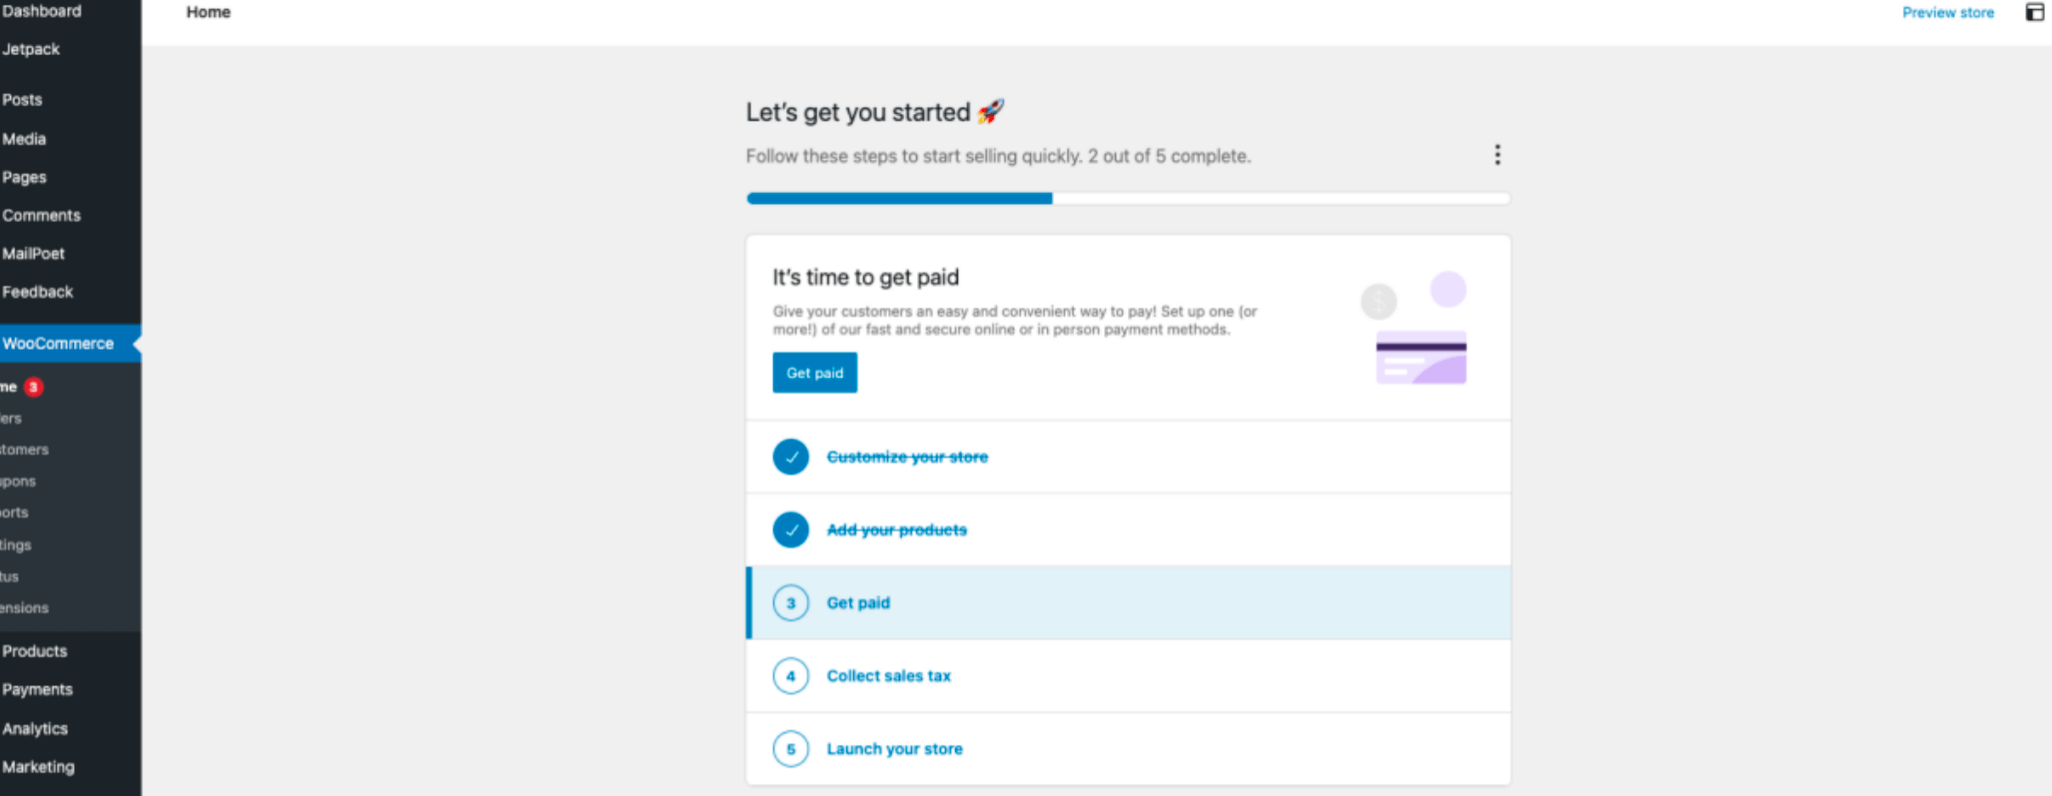
Install the necessary payment gateways. You can select and enable one or multiple options to accept payments in your store.
4. Set Up Taxes
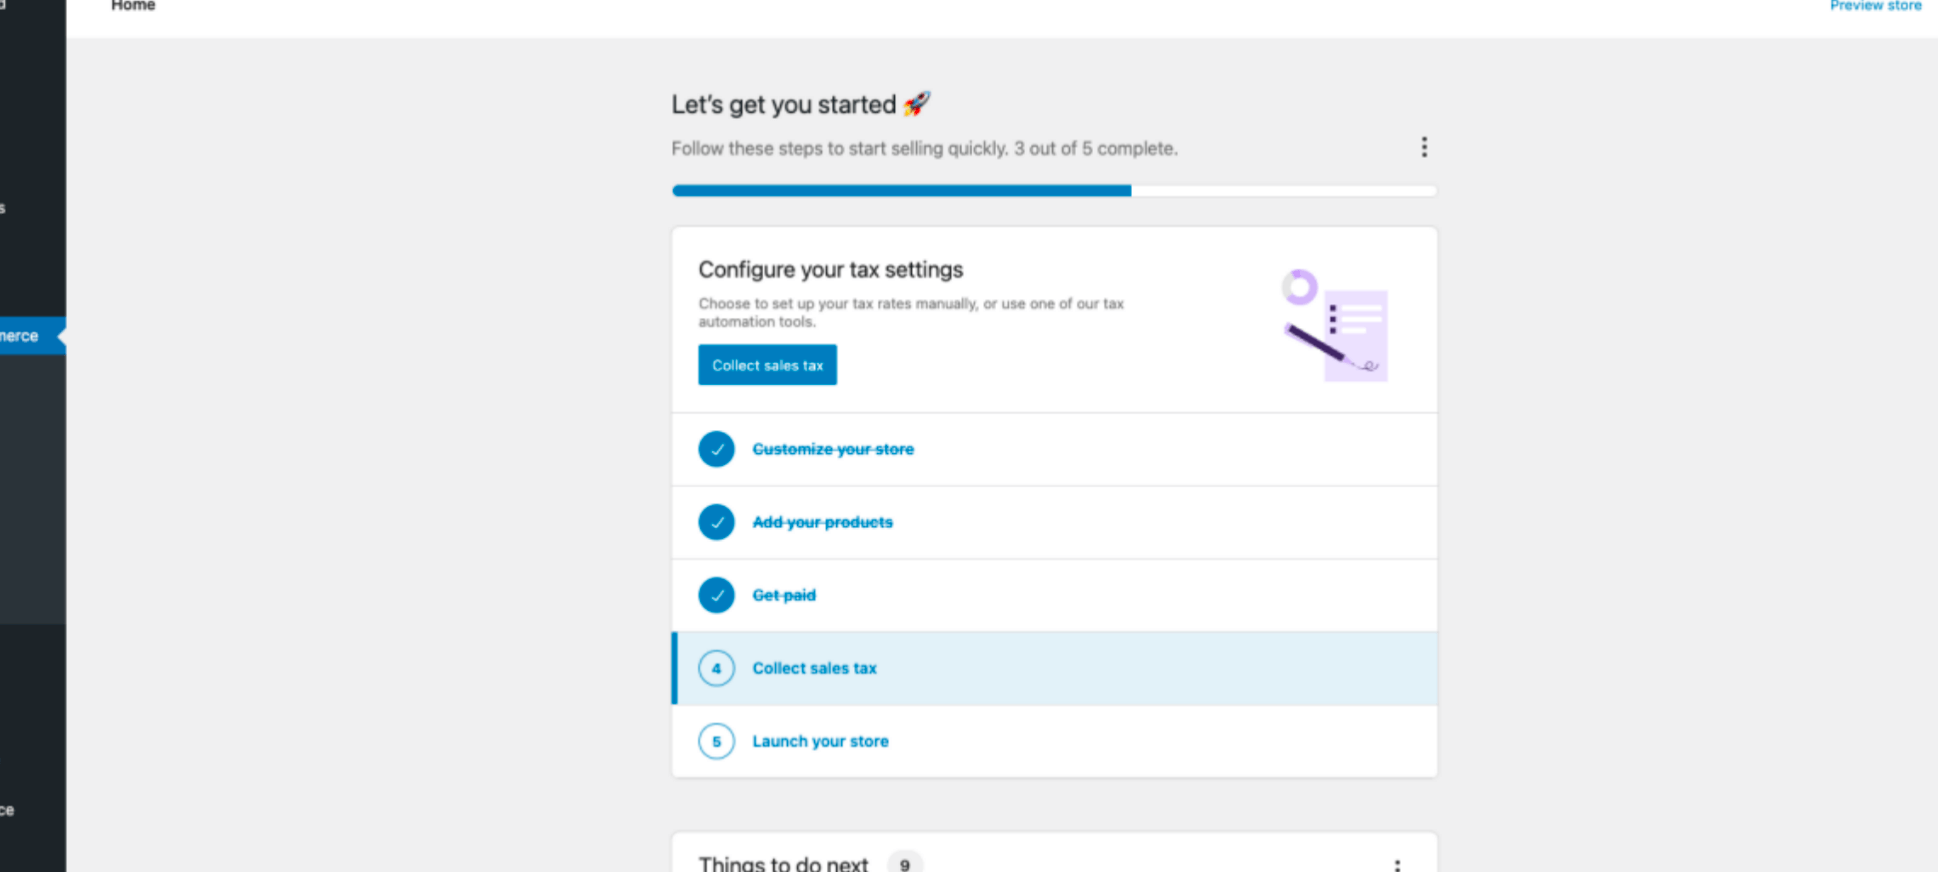
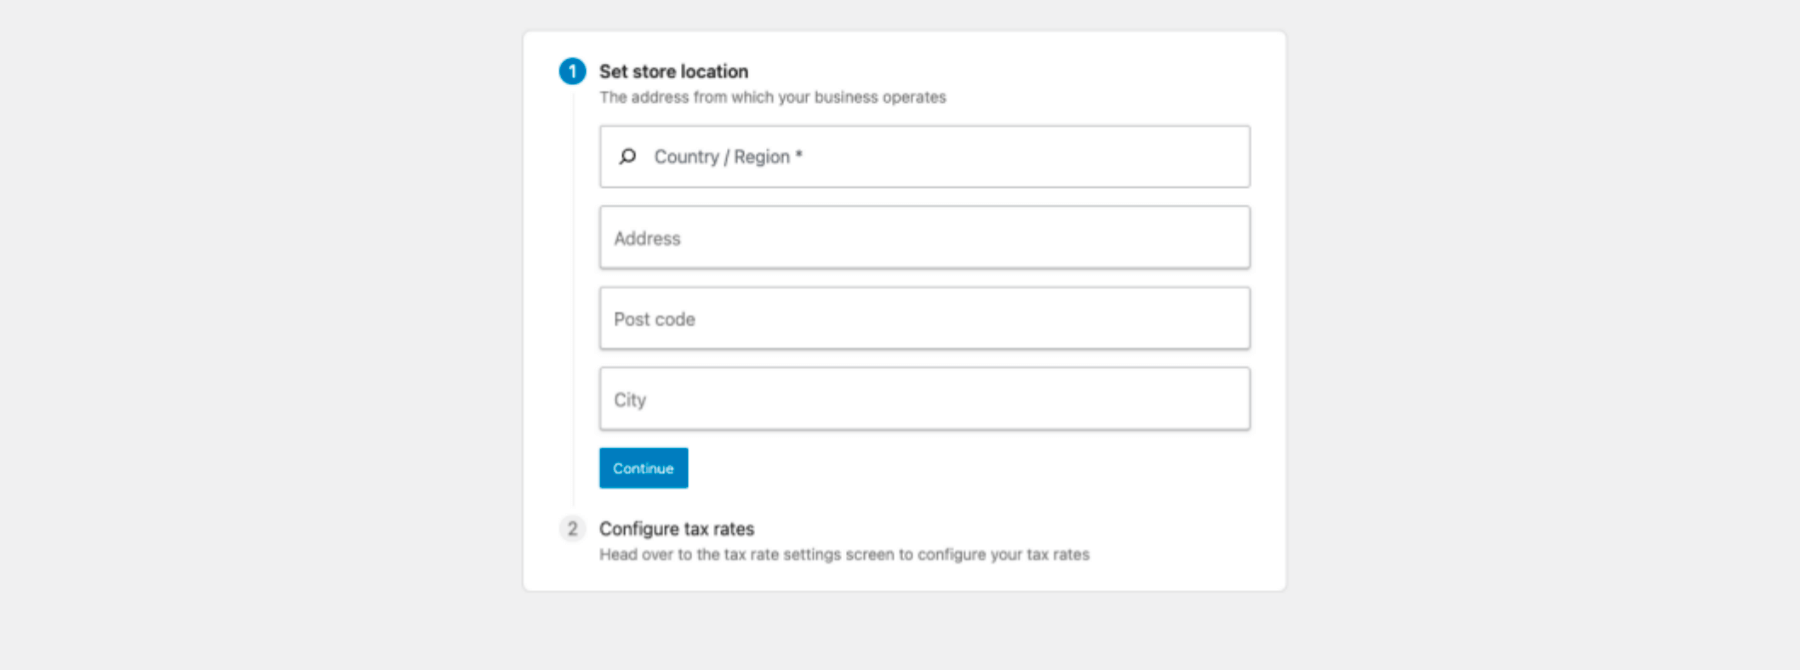
Configure your store location
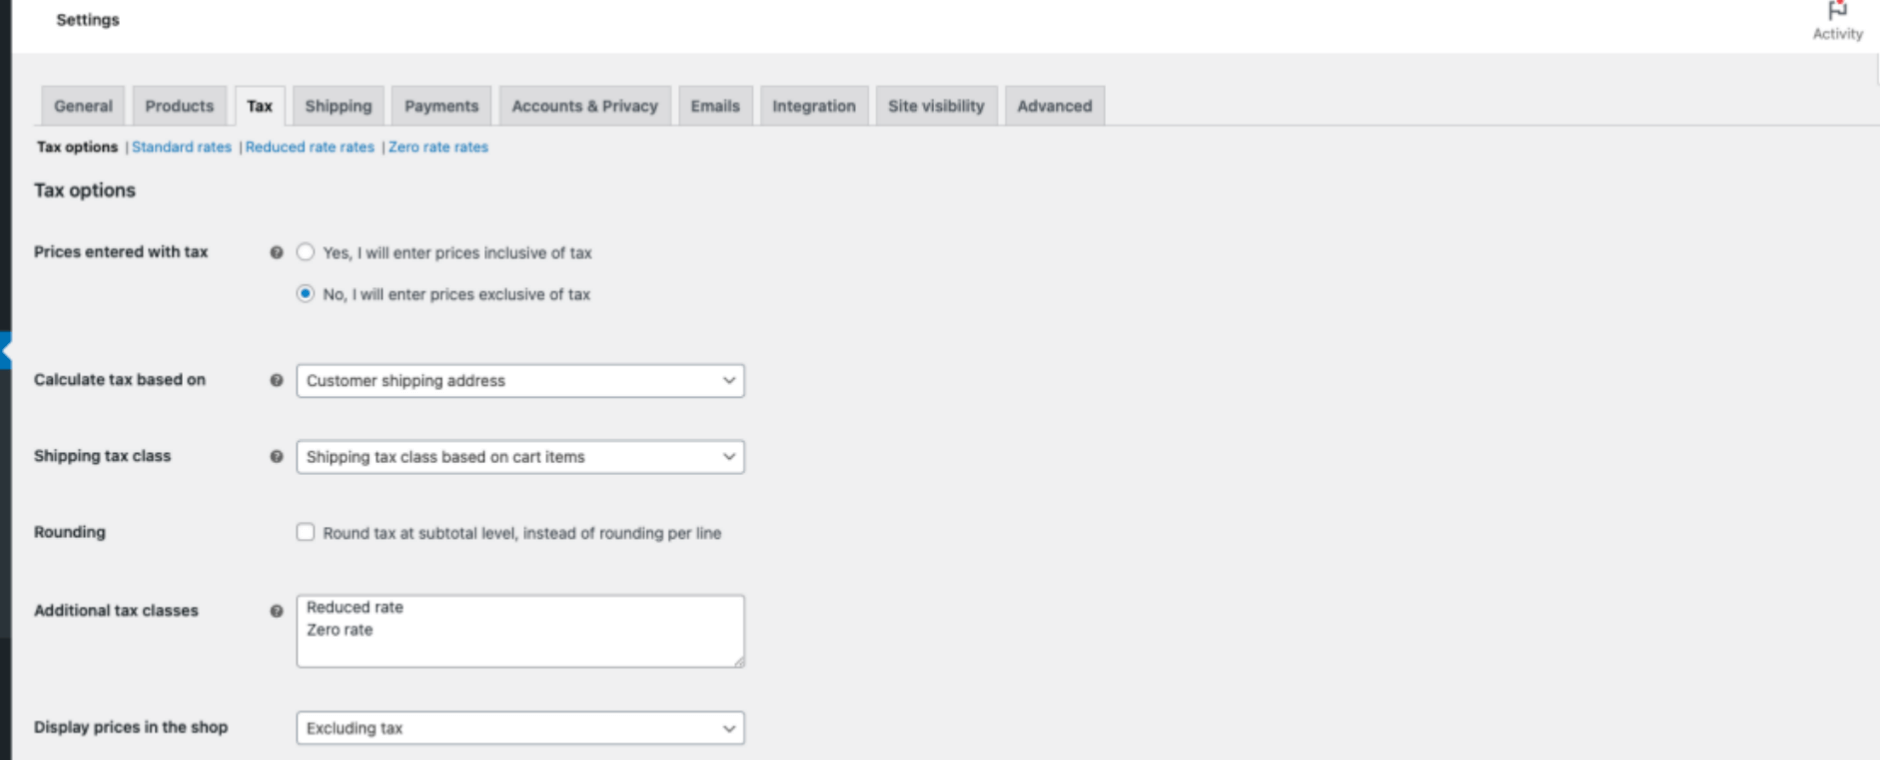
Set up tax rates


5. Launch Your Website
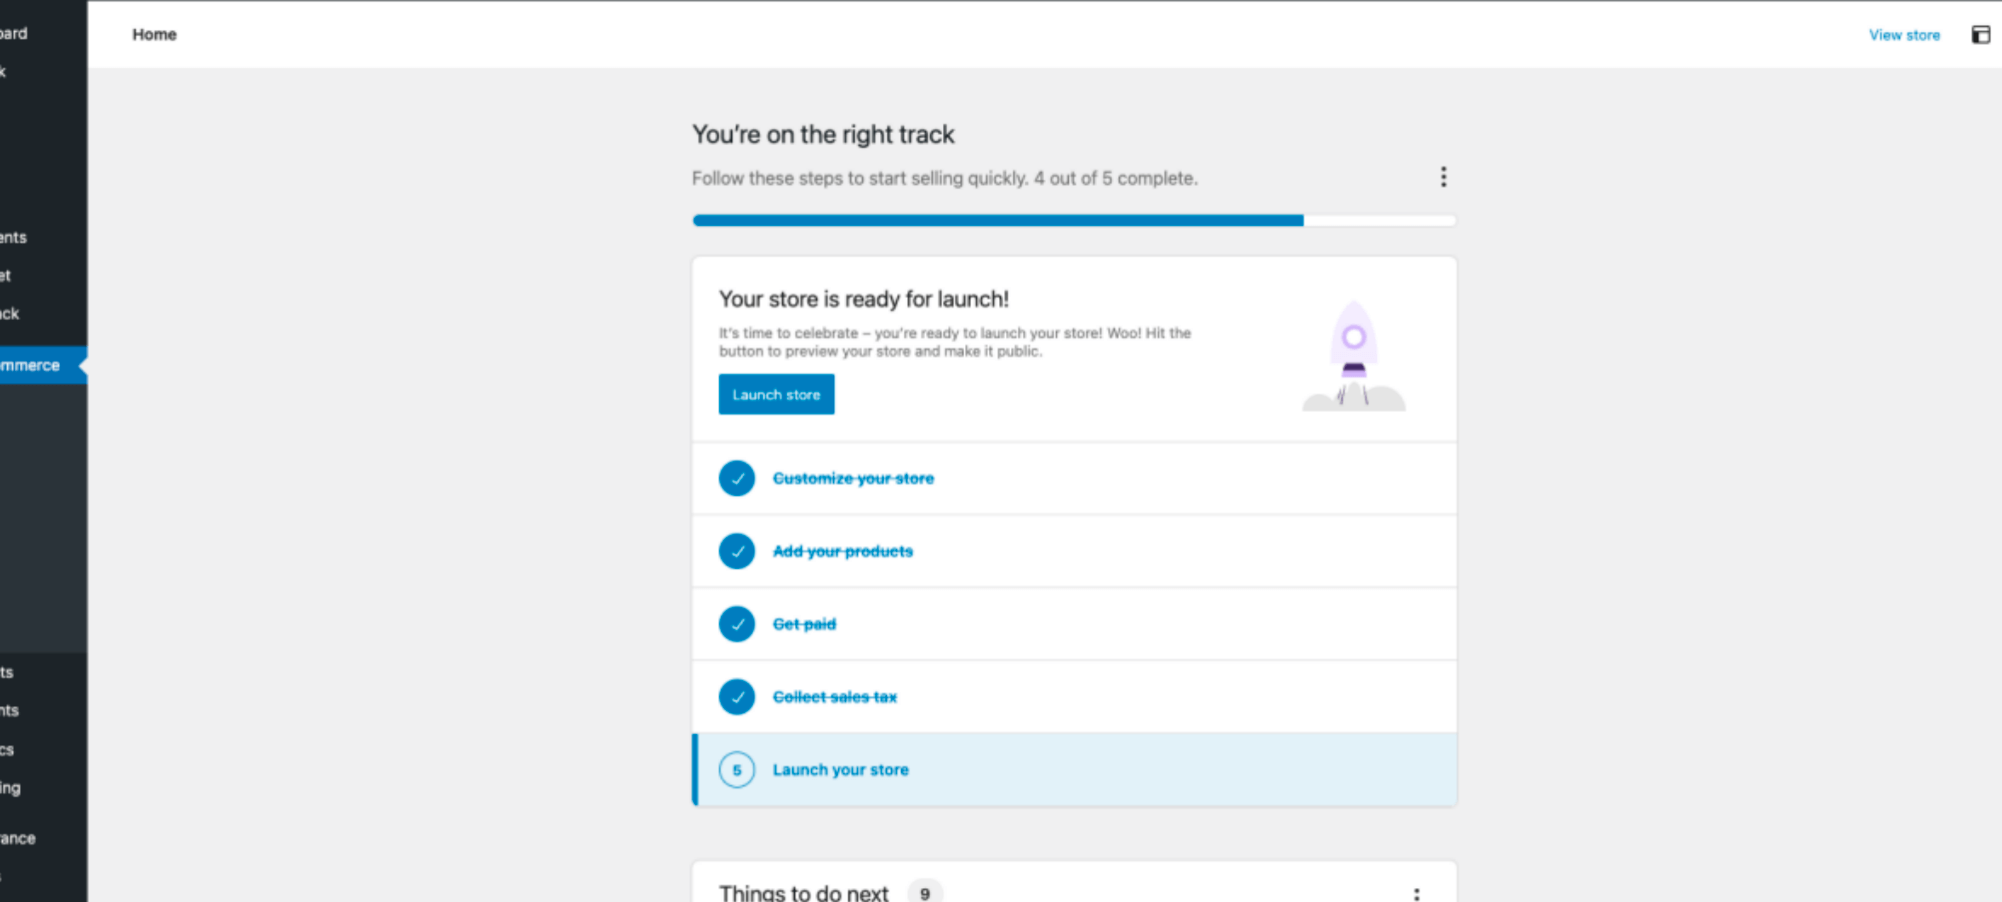
Once you have edited your website and added products, you can publish your online store.
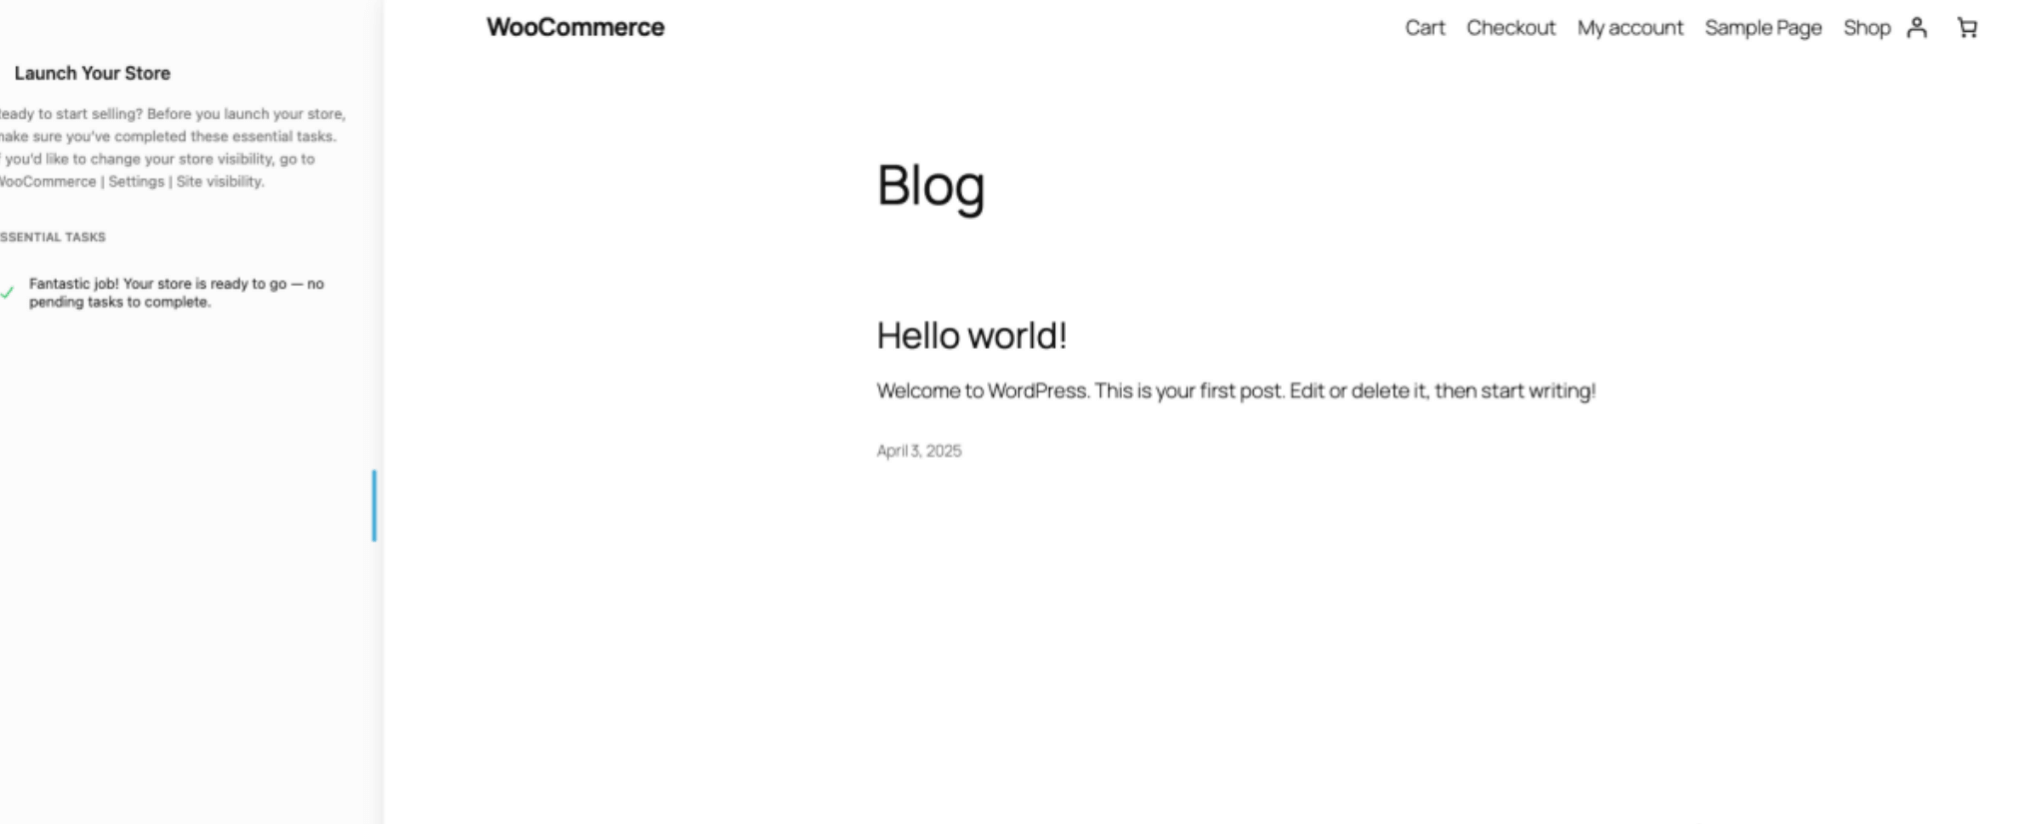
After completing these steps, your eCommerce store will be fully functional. You can also enhance security and boost sales using WordPress security plugins and marketing tools.

 管理中心
管理中心


